
Dear Friends of Flight Simulation
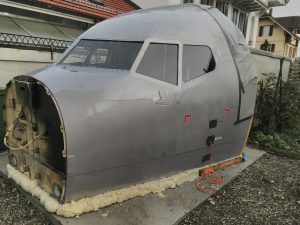
In late September 2018 Jörg Weinmann, the head of simparts.de and simsystems.de, sold the following Boeing 737-330 cockpit shell on ebay and I could not resist to place a bid. It turned out that I was the only bidder since other potential buyers were frightened by the unknown and potentially heavy transport costs.


The problem with such heart- rather than mind-based purchases is indeed the follow up costs and related organizational troubles. But that is exactly why they are so much fun! And so here goes the story …
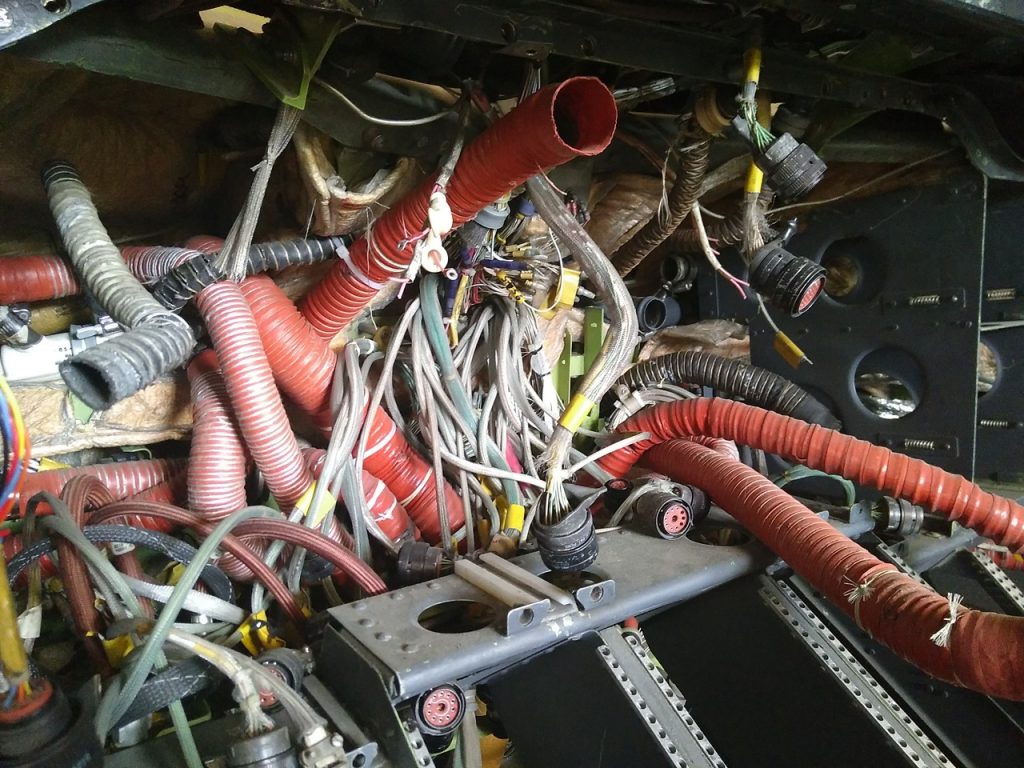
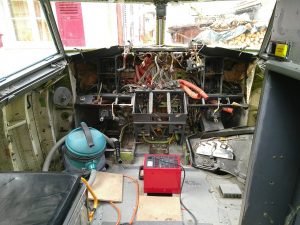
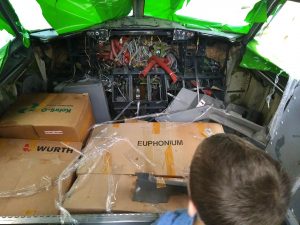
The cockpit shell is almost empty. Airworthy parts like instruments have been resold on the aviation market and other parts like seats, control columns and rudder pedals were used by simsystems.de for a flight simulation project. All cockpit interior covers were part of the deal though disassembled. This is exactly what I need since I already own seats, mechanical control elements and I am in the process to rebuild replicas of the flight instruments anyway. The cockpit still contains much of the original wiring, mechanical cables and heating tubing … and a lot of dirt. It has been flying since 1986 for Luftansa (D-ABXA), Islandsflug, Channel Express and last for Jet2 (D-CELP) until it was disassembled in the UK in 2017.
I knew this monster could not fit into our attic, so the first step was to check with the city’s building permit officials whether such a cockpit shell could be legally placed into our garden. The exchange of photographs and a few phone calls quickly revealed that they never got such a request and did not know how to deal with it. But we settled the discussion with the agreement that the cockpit could be treated like a unheated garden house or a children’s playground, given it would not superseed 10 square meters and 2.5 meters height. Which means: no building permit needed. I then confronted our neighbors with the plan and got into pretty humorous and overall positive chats.
The next step was transport. I visited simsystems.de in Remshalden close to Stuttgart to have a look. Jörg Weinmann took the time of showing me around his flight simulation parts factory and I also discovered that in addition to the highly professional quality of their aircraft panel and electronics replicas they also have a really innovative I/O solution to connect electronics: they use the CAN Aerospace protocol to hook up all electronics of the whole cockpit with a single cable (power excluded). All cockpit components are line replacable units (and plug and play on the running system). This is just about the opposite to what standard suppliers of flight simulation hardware do (e.g. the OpenCockpits which I currently use). Jörg offered to cut the cockpit below the cockpit floor so that it would not exceed the 2.5 meters height and he even suggested to check out transport options.
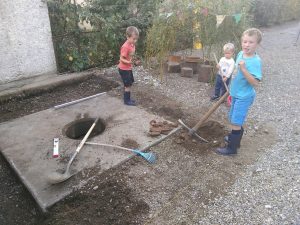
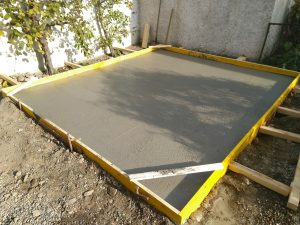
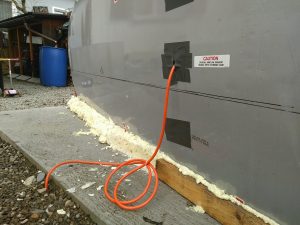
Before the big thing arrived we needed to get ready for placing it. In a joint effort we have turned a forgotten sewer shaft into a 3×3 meter concrete basement within a few days. See yourself! My three kids helped digging, I made the casing and the construction company Wirz AG delivered the cement.


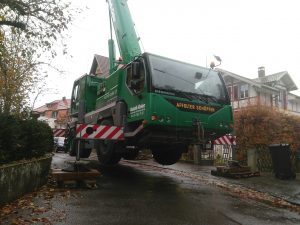
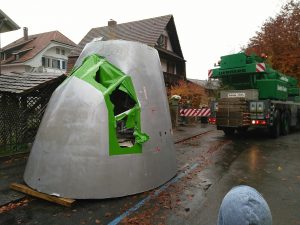
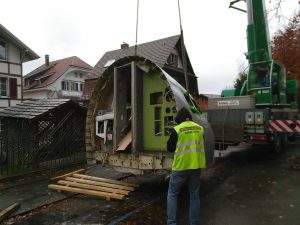
I also started to get quotes from companies operating mobile cranes that could possibly lift the cockpit from the truck into our garden. Finally on Tuesday 13 November the cockpit arrived. At 7:30 in the morning. And contradictory to the agreement with the transporting company it arrived in a truck that would not allow to lift it out of the truck with a crane. The only option was to get a heavy duty pallet transporter into our neighborhood in order to first get the cockpit out on the street before the crane would move it into the garden. Most nearby companies with such gear refused due to legal issues, but I was lucky again to have a straight forward service by the well know Wirz AG. They sent a pallet transporter from several kilometers away (he needed some time due to limited speed) and we moved the cockpit onto a parking space. While it started to rain the mobile crane arrived and lifted the cockpit onto the basement.


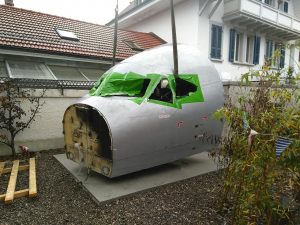
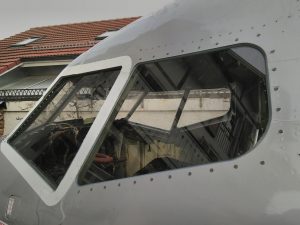
The final part of the interim story is about getting the cockpit ready for winter. The first and very most important detail about it is that it came without cockpit windows. According to Jörg they are still very valuable and are possibly already operating as replacement windows in an old aircraft. We already had replaced the glass of several windows in our old house, so I contacted our valuable partner Mr. Kiener from Vedo Glas und Spiegel AG. Guess or not, he took on the challenge and provided a superb and professional set of six cockpit window replicas using 6 mm standard glas (not airworthy, but should resist a medium size hail storm). My impression was that Mr. Kiener had quite some fun for that non-standard mandate.
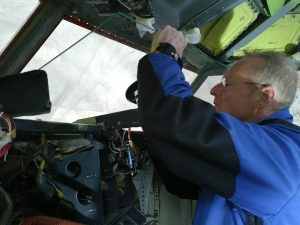
I now needed to unpack the full cockpit, get some power connection into the shell, heat and dry the interior (it did rain before we had mounted the windows), re-mount the cockpit door and to prepare the lower and after section for the winter.

The autumn rains and the first snow storm will tell us how rain proof this preliminary fix is. And the story will continue during the next 15-20 years, so stay tuned! Thanks to all who were involved to start this new project.