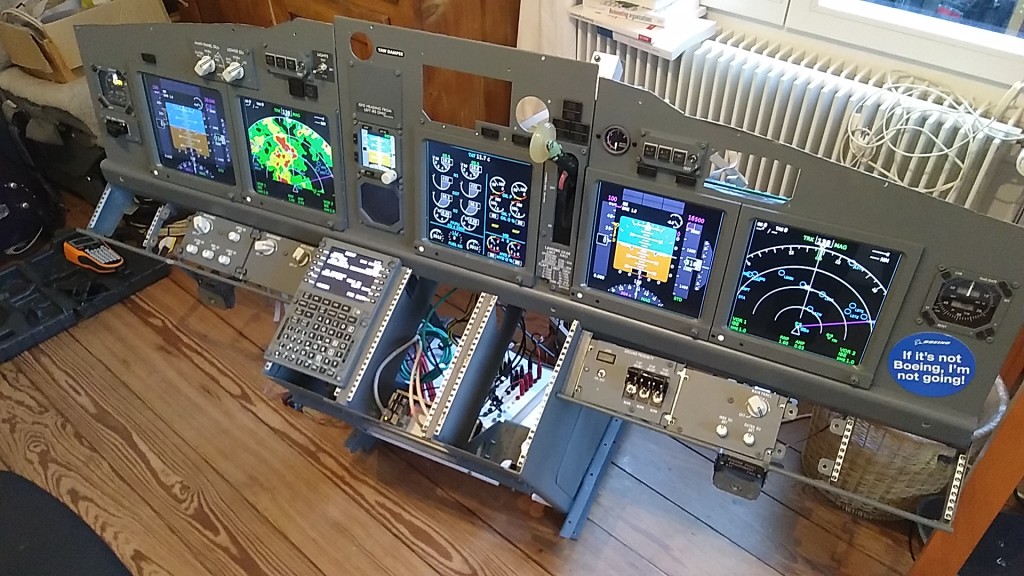
The journey has just begun, or as we say in german: Der Weg ist das Ziel. After adapting the nicely made upper part of the Boeing 737-800 MIP from SISMO Soluciones to the original Boeing 737-300 MIP stand below (see this post), the next task was to outfit the whole thing with proper electronics.
I have started with the MIP LCD displays and the FMC’s. Most cockpit builders use regular monitors and connect them to multiple regular PC’s. There are two uncessary parts in such a setup:
- Monitor Case: There is no need for it as the monitors sit behind the MIP case anyway. The original monitor case further creates an artificial distance between the MIP glass and the monitor itself. It would be good to have the displayed content as close to the front of the MIP itself to avoid shading effects when viewed from the side.
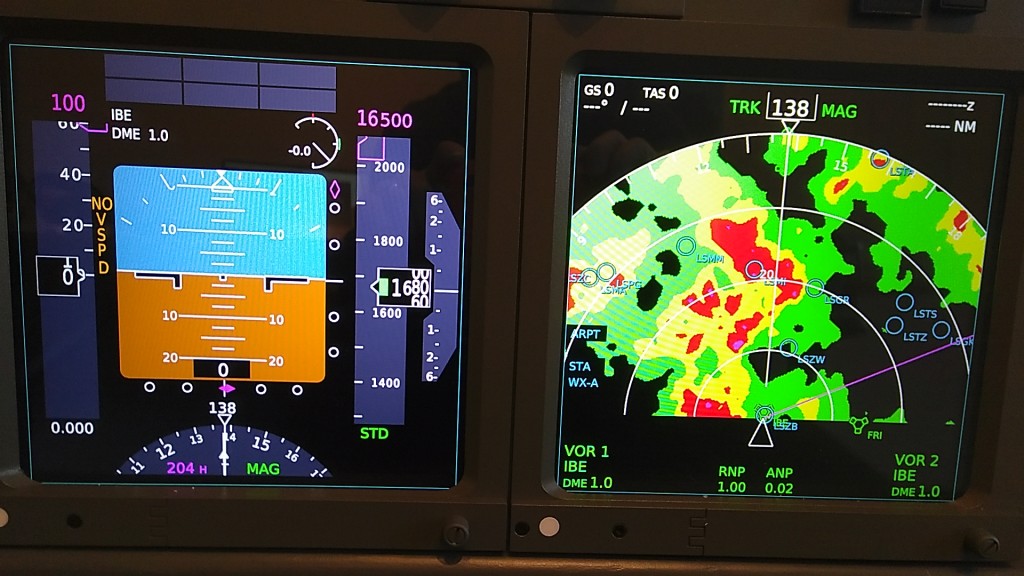
- One PC per Flight Display: There is no need for so many PC’s since the flight displays require a minimum amount of CPU/GPU power. They do not display 3D content. They however need to react in real time to the simulated contect. A delay of 100 milliseconds between aircraft movement and the reaction of the artificial horizon would be very hard to fly. So a 25-50 frames-per-second update frequency of the primary flight display and a maximum of 10-20 millisecond delay would be a good target.
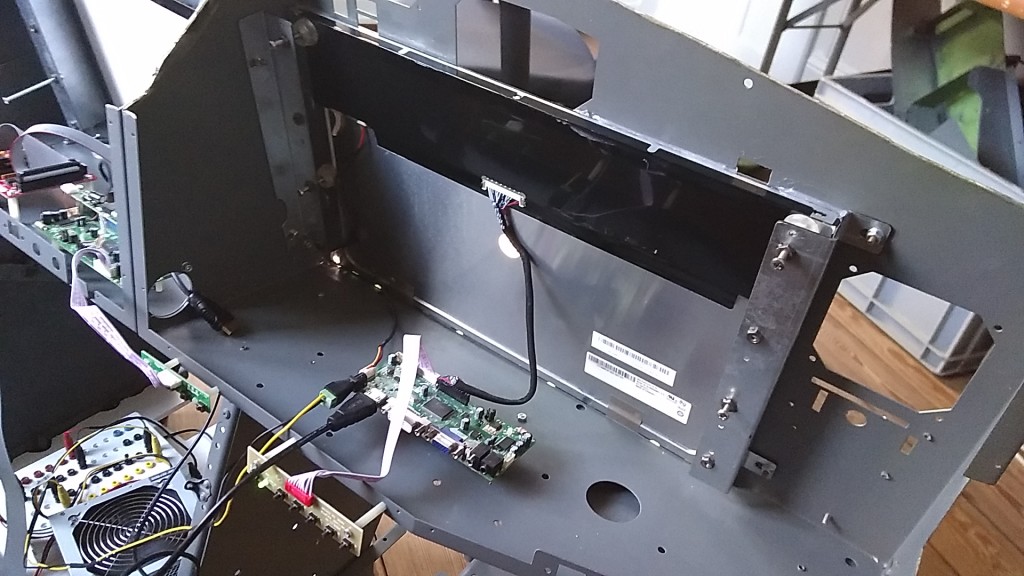
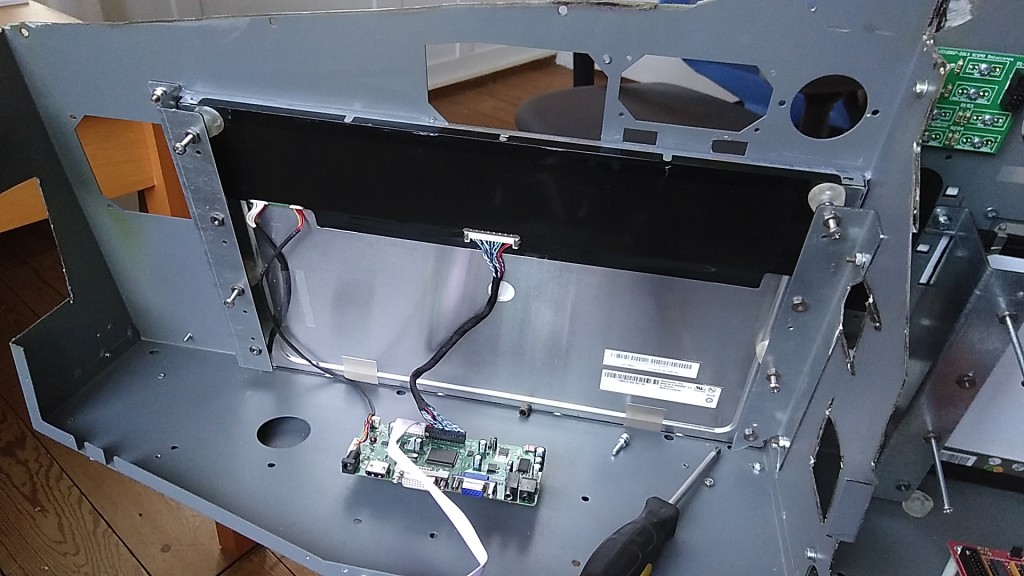
The solution was to buy monitor screens and HDMI driver boards instead of the full monitor. With the variety of sellers on Ali Express this becomes rather simple. I’ve chosen the following models:
- Captain and First Officer CDU: 1920×1080 18.5″ G185HAN01 and the HDMI driver board M.NT68676
- EICAS CDU: 1680×1050 15.4″ LP154WE3-TLB2 and the HDMI driver board M.NT68676 (please select correct display model for its firmware and cables to match)
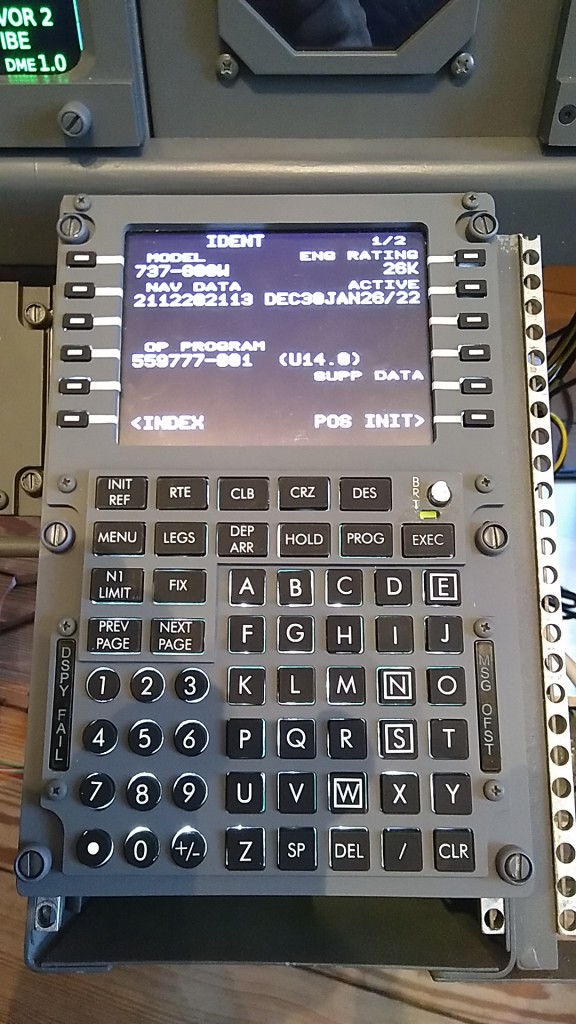
- FMC CDU: 640×480 5″ LCD module including driver board (seems to be out of stock, you may ask the seller why)
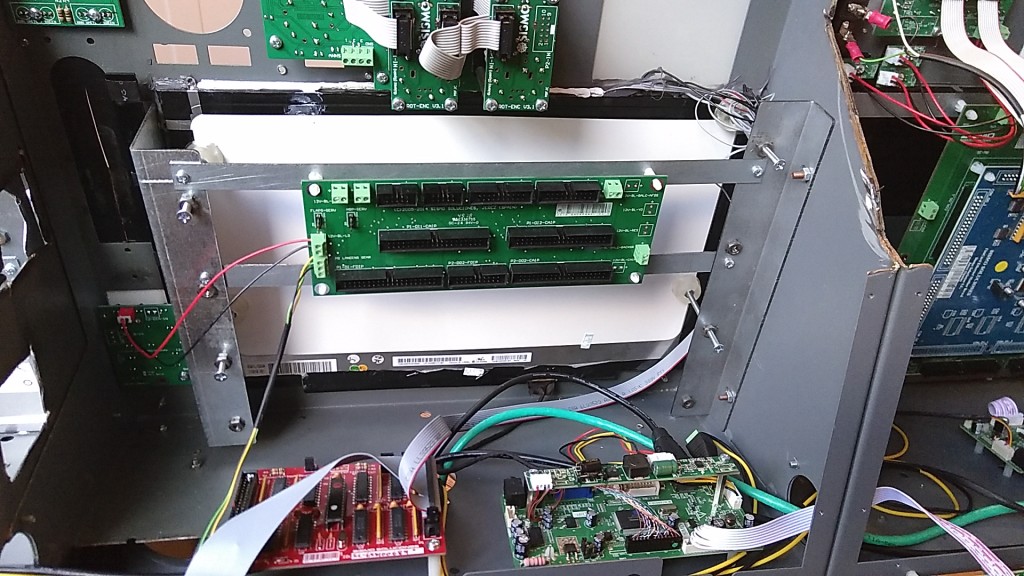
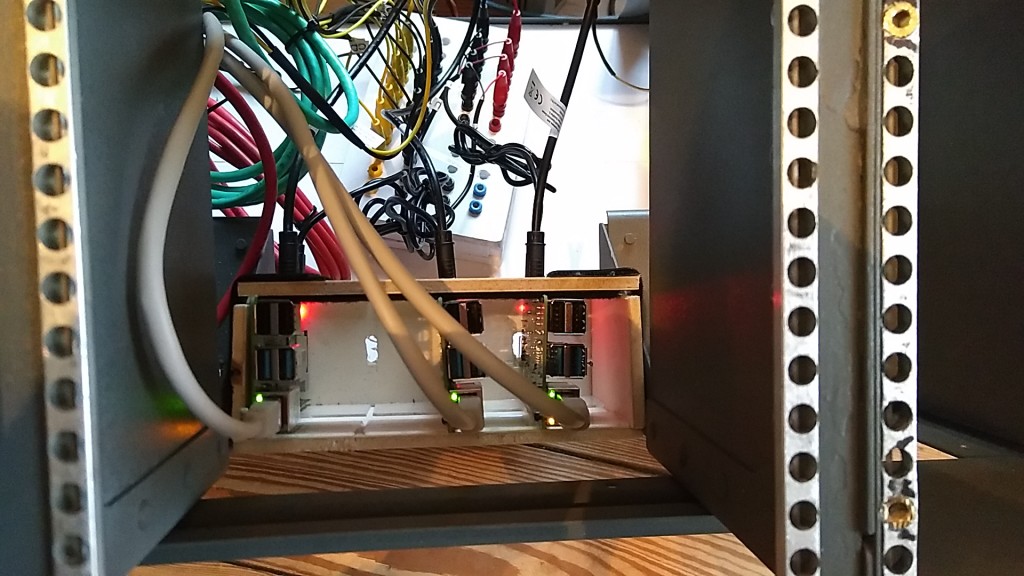
For each of those displays I’ve selected a Rasperry PI (3B for FMC or 4B for the CDU’s) which runs XPOpenGC. First tests showed a very good performance within above specs. Rasperry PI’s use little power, are cheap, can be administered remotely and can be easily stowed in the center part of the MIP base.
You may find the following images helpful in case you build your own cockpit: