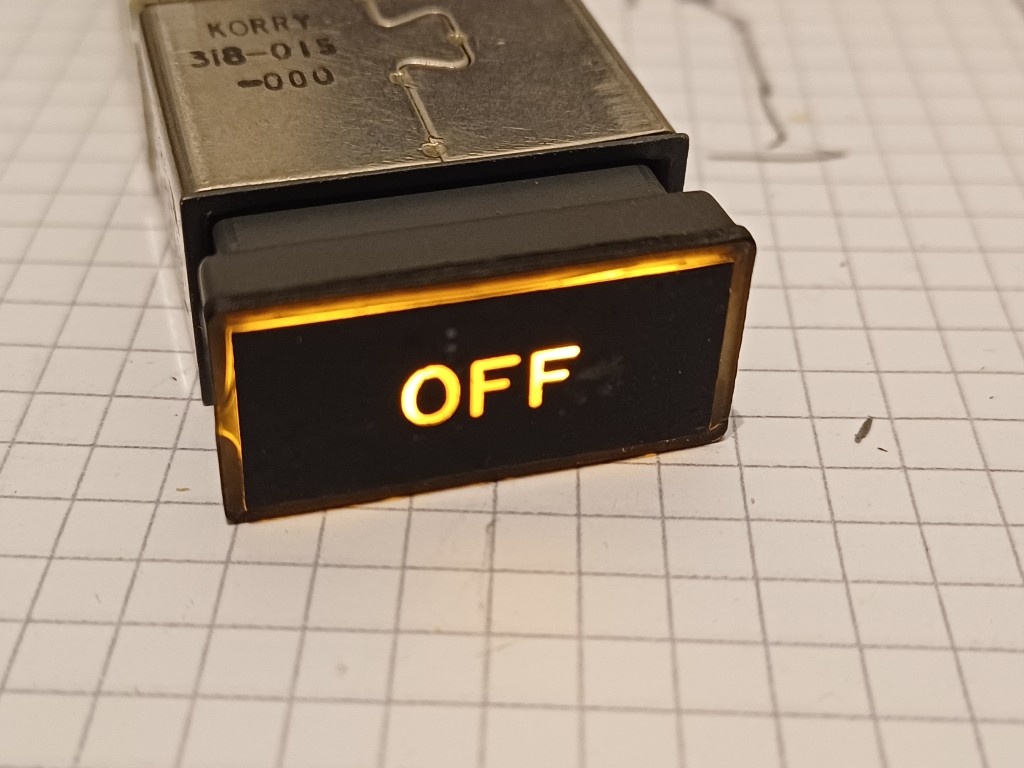
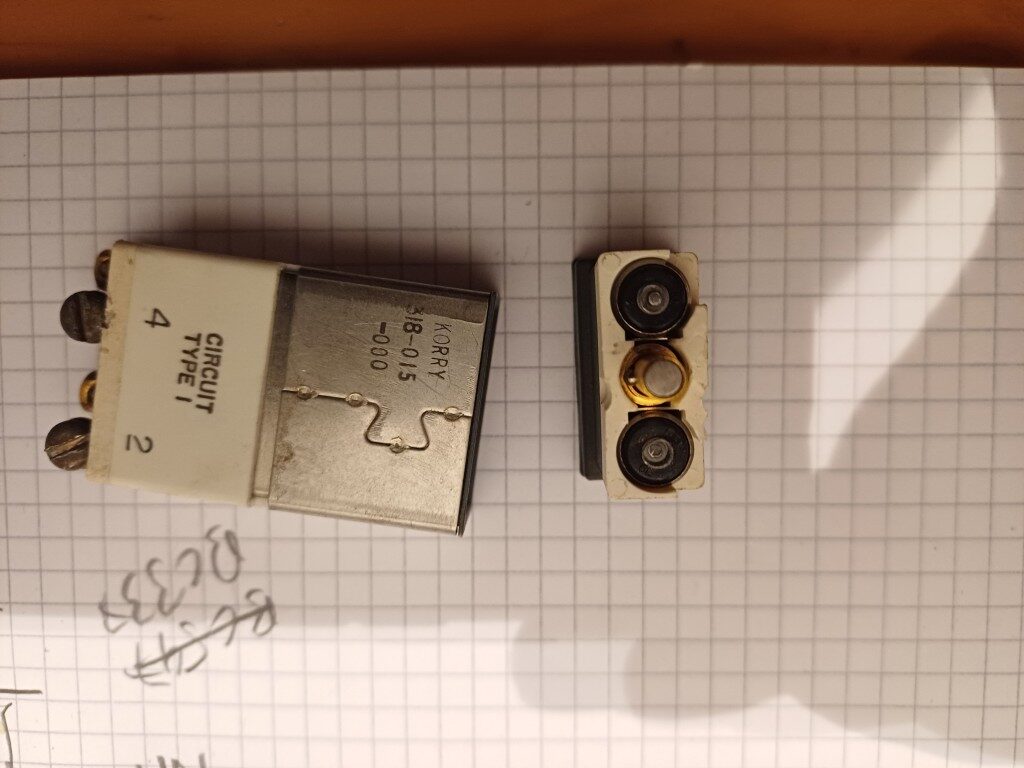
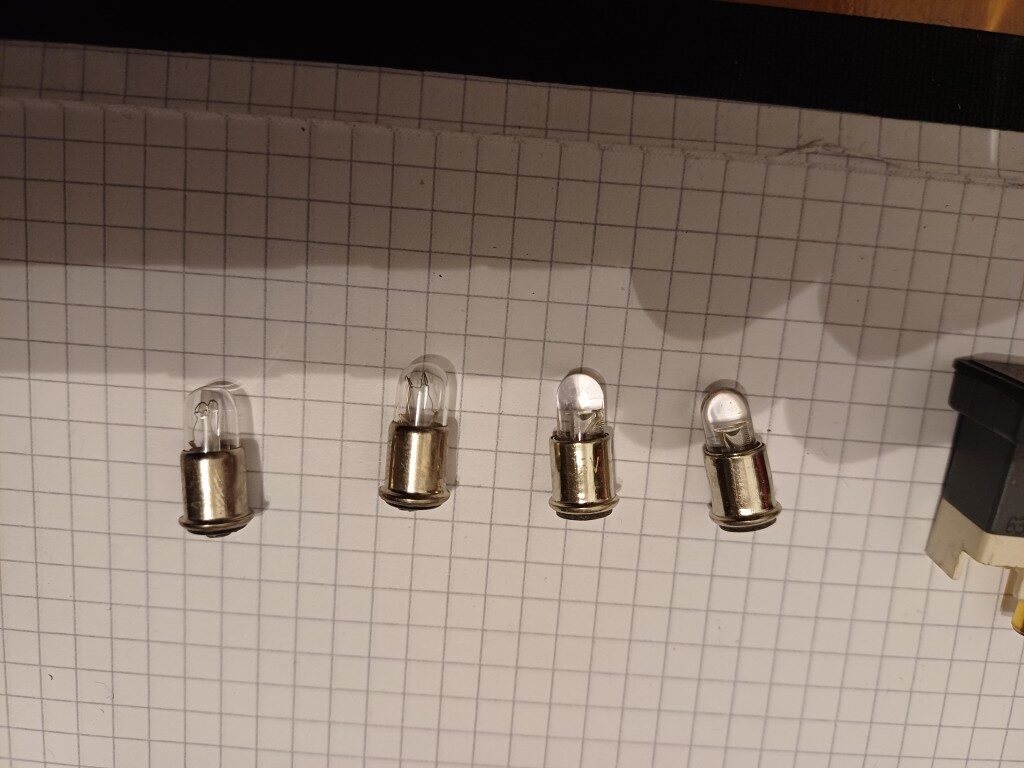
Korry annunciators are used in many larger aircraft. Boeing often uses (or: used, e.g. in the Boeing 737 classic series) the Korry 318 annunciator. It consists of two 28V white light bulbs (Type 387 T1 3/4 Midget Flanged). The annunciator can be pressed, activating a switch to test the annunciator’s light bulbs. The light bulbs can be exchanged easily by pulling the front part of the annunciator from the respective panel … no screw driver needed.
The use of incandescent lamps in annunciator produces a warm light, but 28V is usually not what we use in cockpit building. The annunciator also draws around 80 mA, which is quite a lot.
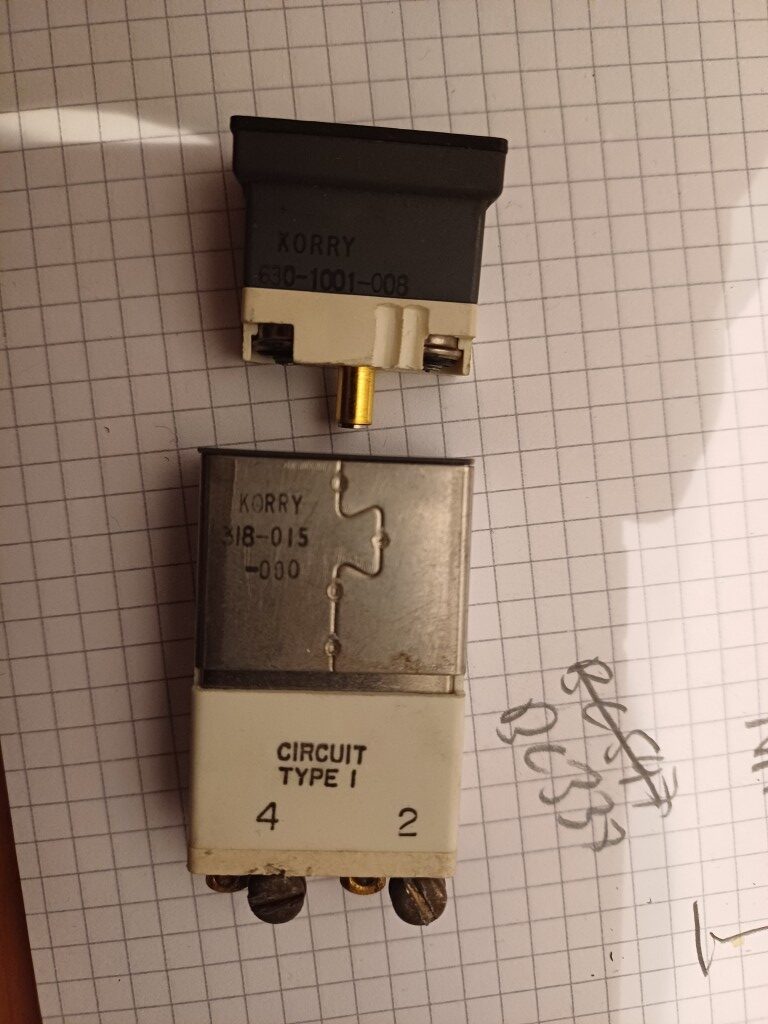
Flaps-to-Approach has demonstrated how to dissasemble those annunciators and how they work. I will now show how to turn the annuciator into a regular 5V device that you can connect to your GPIO pin of any modern microcontroller.
There are two types of Korry 318 annunciators:
Type 1: ground seeking: common power pin and controlled by ground pin
Type 2: power seeking: common ground pin and controlled by power pin
The first step is to replace the lamps with LED’s. This is possible through the company ledlightbulb.net which offers T 1 3/4 midget flanged bulbs with LED’s instead of incandescent lamps:
https://www.ledlightbulb.net/index.php?main_page=product_info&products_id=2031
Please choose the white color LED with 5V dimmable configuration
For Type 1 Korrys please add in the comment field: “center pin negative”
For Type 2 Korrys please add in the comment field: “center pin positive”
You will get the LED replacements as shown below (left are two inandescent bulbs and right are two LED replacements. Put those LED’s into the Korry annunciator and test the circuit using a 5V power supply.
The next task is to build a circuit so that the LED Korry switch can be connected to your microcontroller. The Korry switch LED’s are connected in parallel, require 5V driving power and still draw around 20 mA, which may be too much for your GPIO pin of your microcontroller.
The following schematic is suitable for Type ground seeking Korrys:

The following schematic is suitable for the Type 2 power seeking Korry:

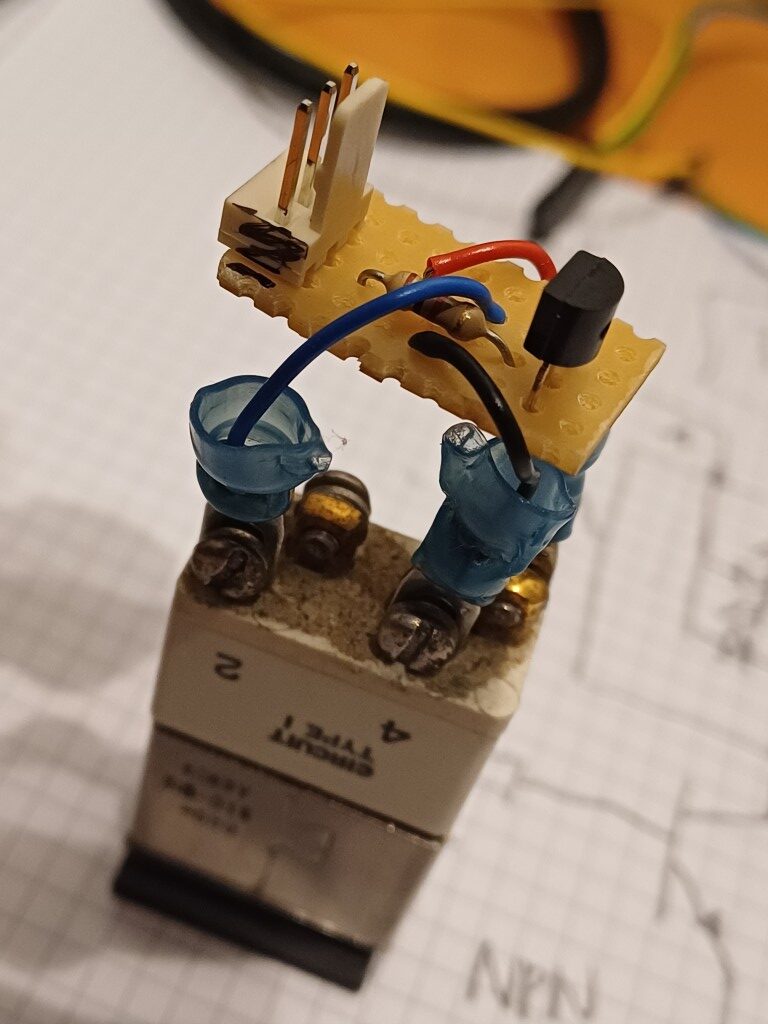
The circuits can be easily put on a small board right next to the Korrys, see here: